I have recently returned from a vacation in Northern California, which was motivated by my brother-in-law’s wedding. The wedding was fantastic, and the trip was delightful, and there will be more about that in an upcoming blog post. In the meantime, I wanted to tell you about the dress I made for the wedding. I only have one brother-in-law (and his fiancée–now wife–is awesome), so I figured his wedding was a good occasion for some special attire. It also motivated me to try out a pattern that I was a little intimidated by, partially because it was a Vogue pattern and partially because the bodice construction appeared to be somewhat confusing.
The whole project started with a trip to my favorite fabric place, The Resource Exchange. I took multiple patterns with me (as I often do) because I wasn’t sure what kind of fabric would catch my eye, so I wanted to have different dress options available depending on which one the fabric seemed like it would pair best with.
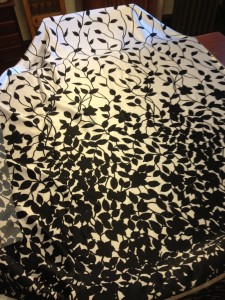 After asking if they got any unique fabric in recently, I was pointed to this absolutely gorgeous black and white fabric whose floral/viney pattern changed from mostly white to mostly black over the width of the fabric. It was just crying out to have a dress made out of it, and after a recommendation from The Resource Exchange’s most excellent Executive Director, I went with a vintage Vogue pattern of my mom’s from the Seventies (see below).
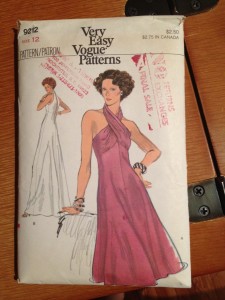 The pattern required an invisible zipper and seam binding, both of which I didn’t have, so I ended up making a trip to Joann fabrics. It took me about an hour and a half round-trip to get out there, and this is one of my frustrations with Philadelphia. I have yet to find a store located in the city where you can reliably find notions of the size and type that you need. Fabric Row doesn’t seem to have them (reliably and with any good selection), and there’s no big-box fabric store in the city. I’d prefer not to go to the big-box stores in the first place, but at this point, I’d take anything, as long as it’s not an hour and a half drive round-trip. I just don’t understand how a city that has a bustling Fabric Row can’t manage to have a decent notions shop. If any of you out there know of somewhere, please please PLEASE let me know in the comments.
But I digress.
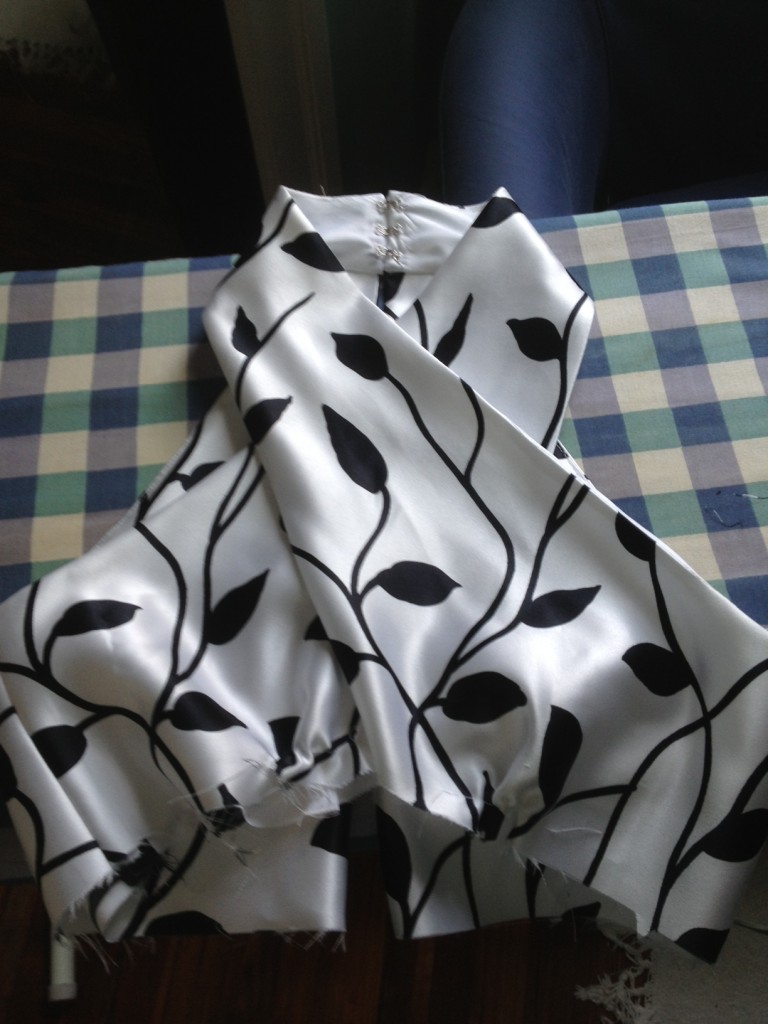
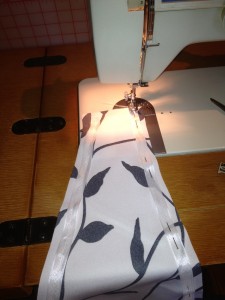 I had never used seam binding before, so once I got the fabric cut out, the first step was to reinforce the bodice with seam binding. It was pretty straightforward and did the trick. It was important that the bodice didn’t scrunch up (the technical term, of course) too much when it criss-crossed, and the seam binding really helped to add a little integrity to the, well, seams. Duh. I think this was especially helpful because the pattern had called for the bodice to be self-lined, but I was concerned that, with the thickness of the fabric, doubling it up would make the front of the bodice too rigid, so I had used regular (thin) lining material. The seam binding added just the right amount of reinforcement, in my opinion.
I should say a word about the pattern at this point. As you’ll notice from the picture, it says that it’s “Very Easy.” What I have learned from years of hearing about my grandmother’s sewing exploits is that whatever level Vogue tells you a pattern is, you should bump it up two more levels, and that’s what it actually is (especially for us sewing neophytes). So, for example, if Vogue tells you it’s “Very Easy,” it’s probably “Just Plain Easy” or even “Average.” I’m not sure I can even say I have average sewing ability at this point (I have to call my mom a lot mid-garment construction for guidance.), so that’s why I was a little anxious about this pattern. Plus, the fabric was so cool that I really didn’t want to screw it up.
I stand by the assessment that this pattern wasn’t “Very Easy,” but I will say that the instructions were pretty clear, so as long as I carefully followed the directions, I knew it would work out. The bodice was the hardest part, and I was pretty psyched when I finished it without having to rip out any seams.
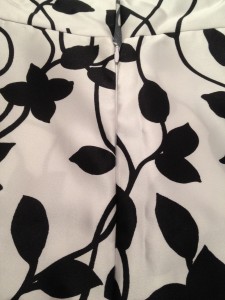 I was also a little nervous about trying out a new kind of zipper. The pattern called for an invisible zipper, which I’d never used before, and OH MY GOD, YOU GUYS, WHY HAVEN’T I BEEN USING INVISIBLE ZIPPERS ALL ALONG?!?!?! Seriously, they are so much easier than regular zippers, and they look lovely. It took a fraction of the time to put in than a regular zipper does, and look how pretty it is! You can barely see it! I’m a total convert.
The most time-consuming parts of the whole process were sewing the hooks and eyes on the back of the neck (see above) and hemming the dress by hand because it’s pretty full. I had to sew the “eyes” on twice because they weren’t staying closed at first, and then I realized that I could switch them from the true eyes to the little bars instead. It’s better, but they still don’t always want to stay clasped. I’m not sure what to do about that, but at least there are three of them, so it’s not likely my dress will fall off. And if it does, well…..party time!
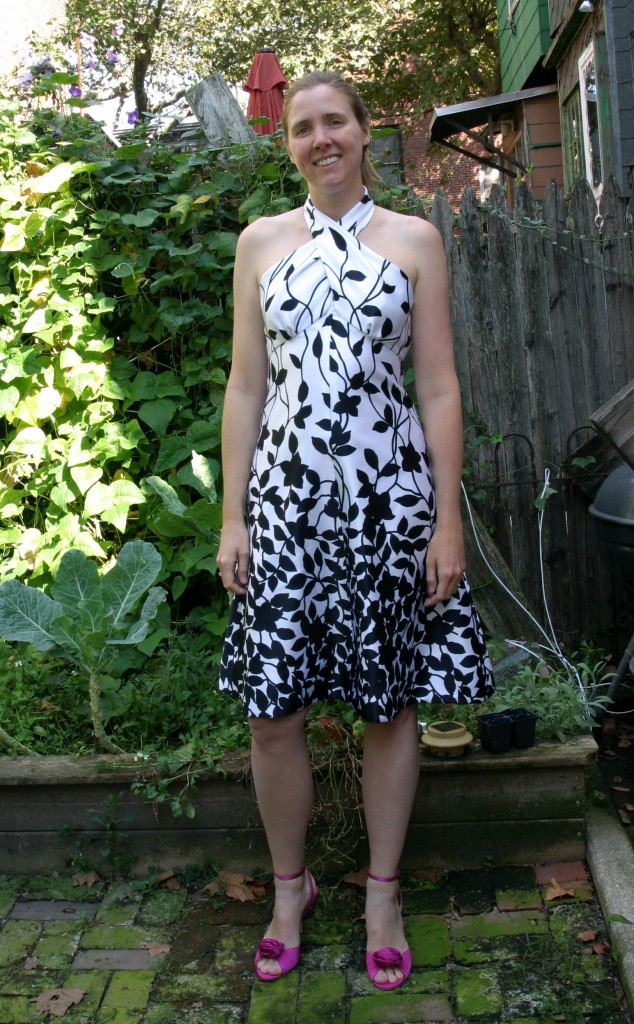
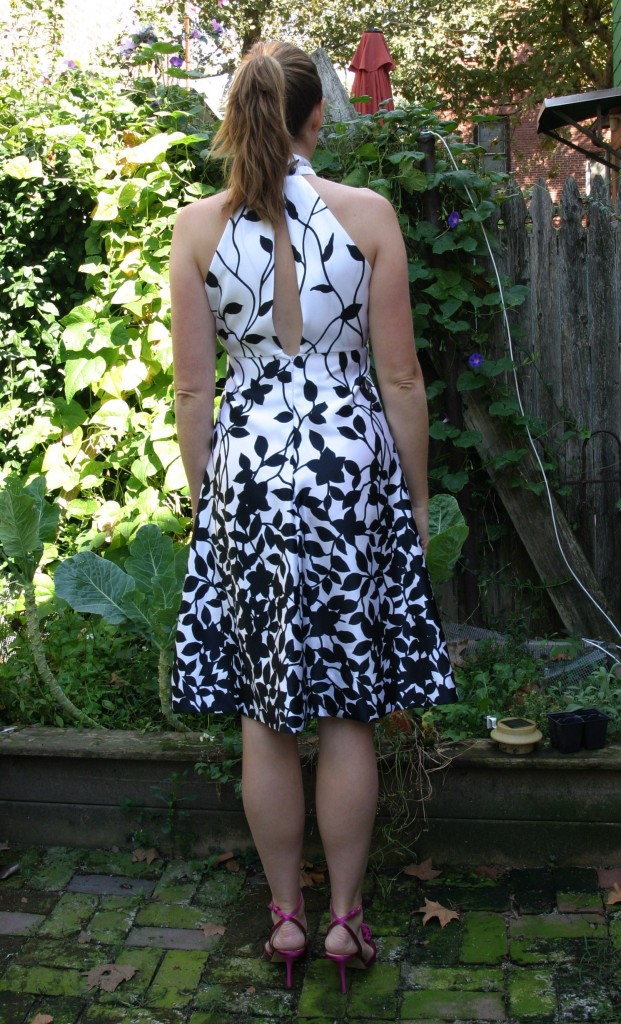
I’m pleased to say that I got it done in time for the wedding, which was last weekend, and the test-run was great. It traveled really well (barely needed any ironing), and I even got several compliments on it. I am excited to wear it again–it was super comfortable. Here’s a look at the finished product.
And one more at the main event with that guy I hang out with. (Check out the awesome succulents behind us, as well as my swell new birthday/wedding hat!)
Congratulations, Nevin and Aravinda!



Leave a Comment
Let us know your thoughts on this post but remember to place nicely folks!